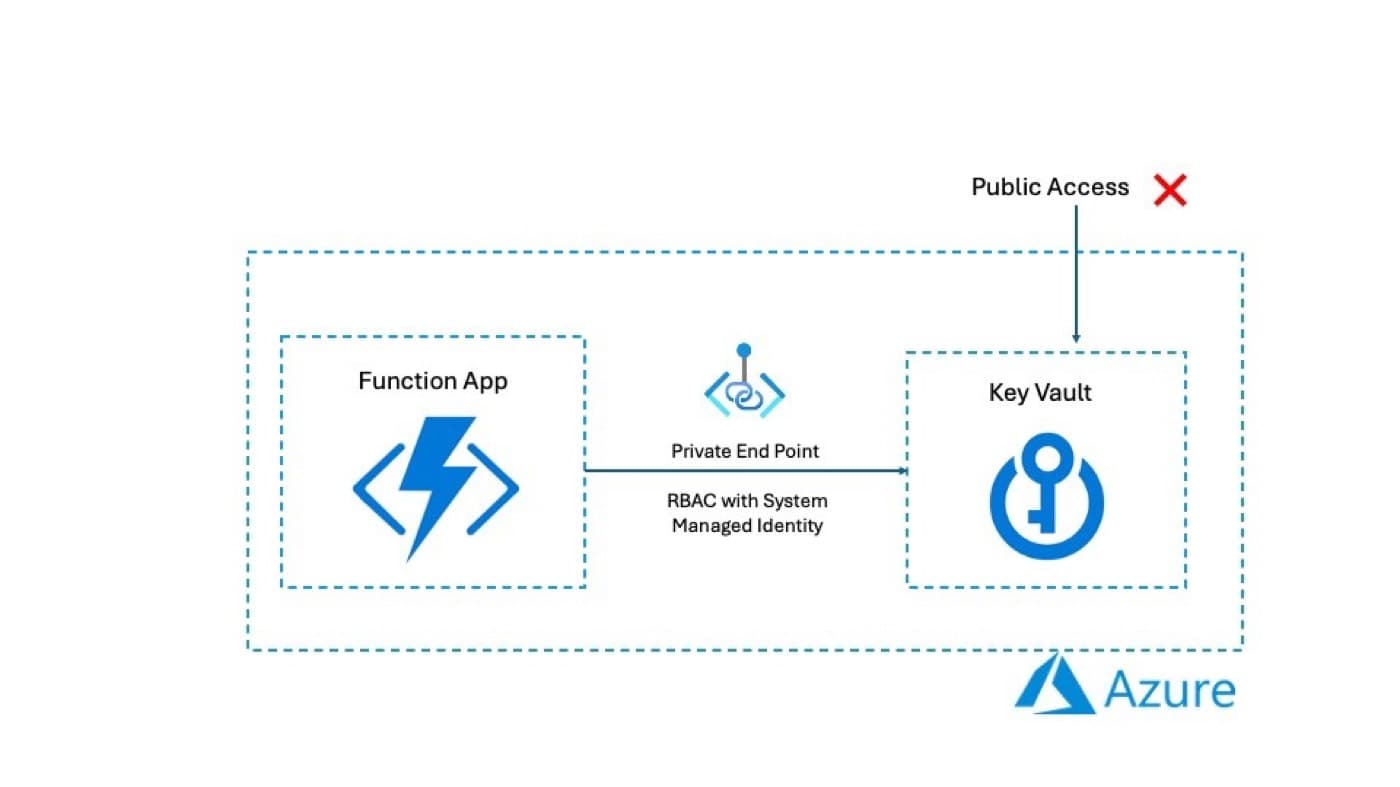
We had to deploy a Azure based solution for one of our Life sciences customer.
Being in this domain customer had hardened Azure infrastructure with strict networking polices.
Out solution had a need of accessing Key vault through function app and the requirements was Key Vault would have public access disabled.
There are quite many articles on how to access key vault with public access disabled using Access Policy authorization scheme. However Role-Based Access Control is the recommended authorization scheme by Microsoft.
This is where we had to spend a quite amount of time and eventually figured out the required configurations. Thought of sharing these details so that someone with similar requirement can save time !
I assume that you already have a Key Vault and Function App created in your Azure portal.
Function App Configurations:
1. Navigate to the Function App and click on Identity under settings on the left hand side navigation menu. Under the System assigned tab, toggle the Status switch button to make it on and click save.
2. This should generate GUID for Object (principal) ID. You don’t need to copy or remember this id. This would take a while as the function is getting registered with Microsoft Entra ( Active directly)

Key Vault Configurations:
Create a Private Endpoint:
Go to the networking section within your Key Vault settings in the Azure Portal.
Click on "Private endpoint connections" and then "Add".
Follow the wizard to set up a new private endpoint:Select the virtual network and subnet that will be used for the private endpoint.Configure the settings as needed, ensuring the private endpoint is linked to your Key Vault.
Finalize the creation and wait for the deployment to complete
2. Navigate to the Key Vault and click on Networking under settings on the left hand side navigation menu. Select the radio button for Disable public access under Firewalls and virtual networks tab

3. Click on the Access configuration under settings on the left hand side navigation menu. Select the radio button for Azure role-based access control (recommended) under the Permission model.

4. Click on the Access control (IAM) and select the Check Access. On this tab select the button Add role assignment.
5. On Add role assignment screen, select the "Key Vault Secrets User" role and click next.

6. On Add role assignment screen, select Managed Identity option for Assign access to.
7. Click on the Select members link to open Select managed identities popup screen.
8. On Select managed identities popup, select the subscription under which you have created the function app. Under Managed identity dropdown select Function App as the option. It should list the function app below for which you have created the managed identity. Select that and click the select button.

9. Click Review + assign button to complete the role assignment. You should see success message in the notification.

Function App Code to access secret:
Thank you !
References:
First published on LinkedIn.